Giving yourself a manicure at home is not always as easy as it seems. If you use traditional nail polish, you could spend hours meticulously painting your nails, only to end up with a smudged, bubble, or totally uneven mess. We get it. The struggle is real. Luckily, there is an easier way to get better results with half the effort—dip powder manicures.
Dip powder manicures are 100% easier to apply than a regular nail polish manicure and last for up to six whole weeks without chipping. That makes them perfect for when life gets busy. You can squeeze in a dip powder manicure anytime, anywhere. It’s as simple as coat, dip, and activate! In a matter of minutes, you’ll have a stunning salon-quality manicure—without all the fuss!
What Is Dip Powder?
Dip powder manicures are applied to the nail by first painting the nail with a clear base coat, then dipping it into a superfine acrylic powder. Once you have two layers of color powder, the manicure hardens instantly with a coat of liquid activator—no dangerous UV light needed!
With this quick-drying manicure, you don’t have to wait around for your polish to dry. So, you can get back to life ASAP. All you need are a few spare minutes, and you’ll get gorgeous nails that will last for three to six weeks. Dip nails are so easy to apply that they are perfect for at-home manicure beginners and experts alike.
This versatile type of polish can be applied to your natural nails or fake nail tips. You can also use it for a manicure or pedicure. Dip powder pedicures are great for summer trips to the beach cause no matter how much sand you get between your toes, your dip polish won’t budge. These nails are tough and can stand up to endless days of play.
What Do You Need For A Dip Powder Manicure?
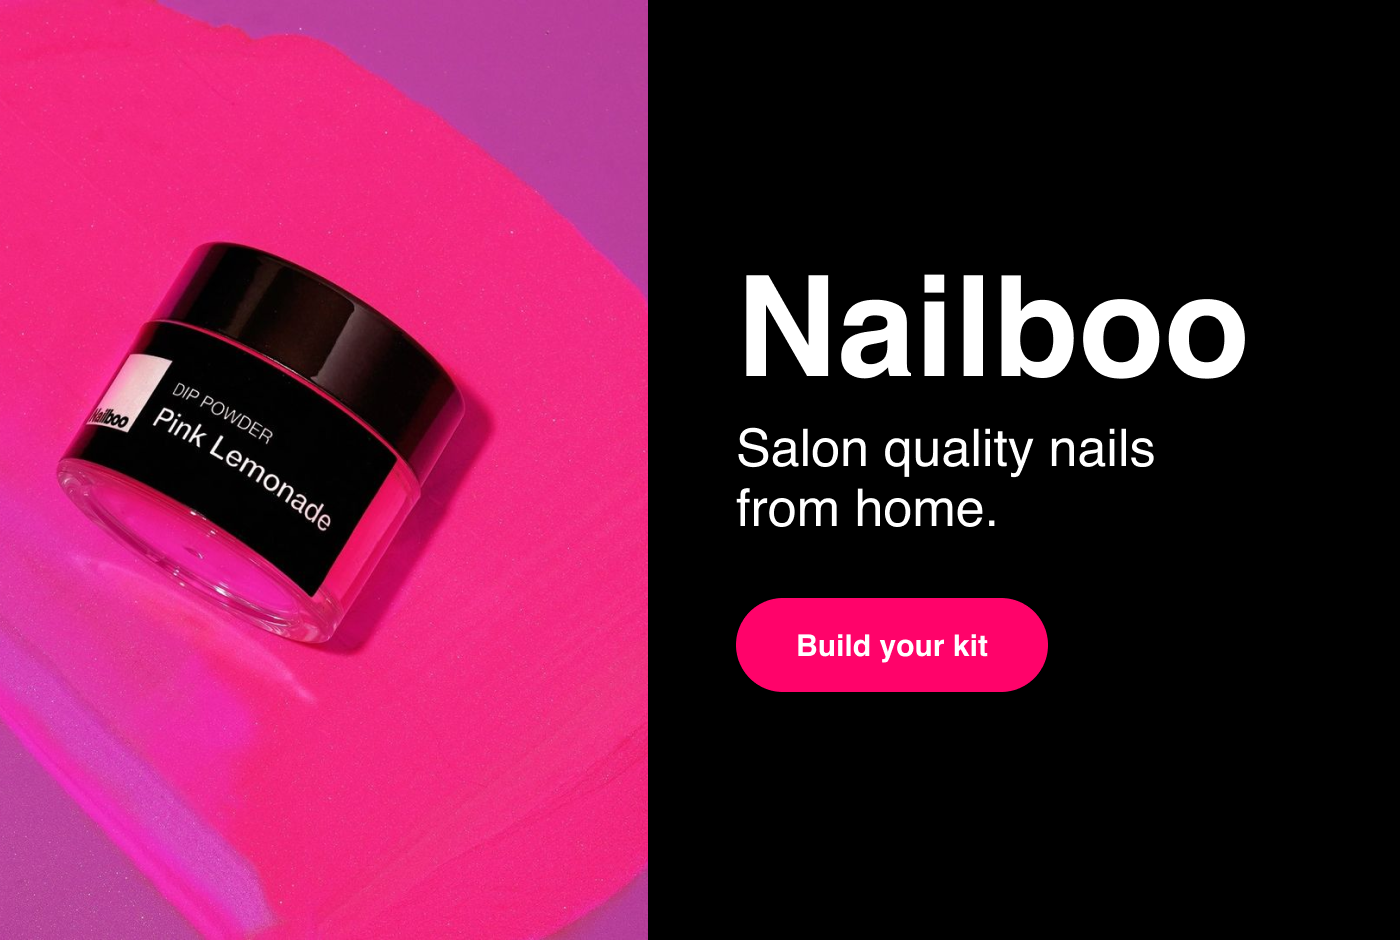
All you need for a perfect at-home manicure is a Nailboo Dip Kit. These fantastic kits come with everything you need for a dip powder manicure, from application to removal. All you have to do is pick out the colors you want, and Nailboo will include the rest. In just a couple of days, you can have the perfect kit shipped straight to you.
There are three Nailboo starter kits to choose from depending on how many jars of color powder you want. Each jar has enough powder to do 30 full sets of nails—manicures or pedicures. How much powder you want to start out with is totally up to you, but the more color powders you get, the better the overall value is!
Here’s the inside scoop on each Nailboo Dip Kit:
- The Starter Kit: This kit comes with only one jar of the color powder of your choice. If you have a signature color that you don’t deviate from, then this kit is perfect for you.
- The Essentials Kit: This kit is the most popular kit we have. It comes with your choice of four different color powders that are sure to match any occasion or look. If you like to have a couple of color options, this kit is the one for you.
- The Pro Kit: This kit comes with six different colors and is the best overall value. If you like to change up your color game often, then this kit was made for you. After all, no outfit is complete without the perfect matching manicure.
With every single kit, you will also get all of the tools you need to apply dip nails. This will include the three-step liquid kit, a cleaner for finishing effects, cuticle pusher, brush, four-way file, and some handy Removal Clips to help you remove your polish when the time comes. All of these goodies will make your at-home manicure the best one you’ve ever had. It’s basically an entire nail salon in a box.
How To Apply A Dip Manicure At Home
With a Nailboo Dip Kit, your at-home manicure will be super easy to apply. But first, you will need to prep your nails with a quick clean-up, just like at a salon. This will take your at-home manicure to the next level by creating the perfect canvas for your polish.
Prep Your Nails Like A Pro
To prepare your nails like a pro, simply follow these easy steps:
- File Your Nails- Begin by filing your nails with your trusty four-way file. Drag the file across the tip of your nail in one direction, starting at the edge and rounding towards the middle. Do not seesaw the file back and forth, as this can cause your nail to have a rough edge that can lead to peeling later on. File your nails into whatever shape you prefer.
- Push Back Your Cuticles- Next, use the cuticle pusher from your kit to gently push back all of your cuticles. Although most salons will trim your cuticles, experts agree that this is unnecessary and can lead to peeling later on. Skip the trim and just gently push the cuticles back instead.
- Buff Your Nails- Use the gentle side of your four-way file to buff the tops of your nails. This will remove any ridges or oil buildup and create the perfect surface for you to apply your manicure to.
- Wash Your Hands- Wash and dry your hands to remove any residue from the buffing. You should now have clean, dry nails that are all groomed and ready for some polish.
- Acetone- This final step is optional but can be helpful if you have a hard time getting manicures to stick to your nails. Simply wipe each nail with a tiny bit of acetone to ensure that they are completely oil-free before you apply your manicure.
Dip Your Nails Like A Pro
If you’ve never applied dip nails before, don’t worry! It’s super easy. Just get your Dip Kit ready and then follow these steps for flawless at-home dip powder nails:
- Base 1 + Build Powder: Begin by painting one nail with Base 1 from your Dip Kit. Then dip the nail into Build Powder. Repeat this with all of your nails, and then use the brush to remove the excess powder from your fingers. The Build Powder will protect your natural nail and create the perfect smooth base for your manicure.
- Base 1 + Color Powder: Next, coat one nail with Base 1 again, but this time dip the nail into your chosen color powder. Repeat this with each nail, and then brush away any excess powder. Once each nail has one layer of color, repeat this step to create a second layer.
- Activator 2: Once you have two layers of color powder, paint Activator 2 from your kit onto each nail. Wait two minutes for this to dry. This is the step that hardens your mani for vibrant, durable results.
- File + Buff: After the Activator has dried, take the coarse side of your four-way file and buff the top of each nail. This won’t remove the color.
- Activate + Buff Again: Next, paint on another layer of Activator 2 and wait two more minutes. Buff your mani one more time.
- Shiny Top 3: Finally, to seal in your gorgeous color, paint each nail with a glossy layer of Top 3. This top coat will give your nails a stunning shine and protect them from the UV rays of the sun.
You should now have a perfect manicure that is ready to wear. If you accidentally got any polish on your skin, use the cleaner from your kit to remove it. The process of applying a dip manicure is super different from traditional polish. Still, once you try it a few times, you’ll be able to apply this salon-quality manicure in a matter of minutes.
Wrap Up
If you are looking for the best way to get salon-quality nails, then look no further. Nailboo’s handy dip kits make doing your nails as easy as one, two, three. Just coat, dip, and activate! You will be amazed by the stunning results that you can get from a manicure that is so easy to apply.
With your Dip Kit, you can kiss the time and expense of trips to the salon goodbye and say hello to an at-home manicure that’s way cheaper (and more fun). With 30 sets of nails in each jar, you can save hundreds of dollars compared to the salon, and you don’t even have to leave your couch.
With speedy shipping, Nailboo will deliver your kit straight to your home so that you can get started on this incredible manicure journey. Once you try dip nails, you’ll never settle for anything less. Trust us. You’re going to love it!
Sources:
Fingernails: Do's and don'ts for healthy nails | Mayo Clinic
How to File Nails Safely So They Don't Break or Peel | Healthline