Are you looking for the perfect long-lasting manicure? Whether you are headed out on a two-week vacation or simply don’t have time for weekly manicures, then you need a long-lasting manicure solution. With the right mani, you can keep your nails looking great for weeks so you can focus on what matters—taking on life like the boss you are.
Today, we will cover everything you need to know about both gel and dip powder manicures, including what to expect from each process from application to removal. After reading this article, you’ll be an expert on long-lasting manis!
What Is A Gel Manicure?
Chances are, if you’ve been to a nail salon, you have likely seen someone getting their nails painted with a little futuristic UV light—this is a gel manicure. Gel manicures are painted on just like regular nail polish but are placed under a UV light between coats to cure. When the special gel polish is placed under the light, it instantly hardens to create a durable manicure.
Gel manicures are typically more expensive than regular manicures, but for a good reason—they last twice as long. When the gel polish is cured with UV light, it hardens, creating a durable shell over your nail. Unlike regular nail polish, which only lasts a week at best, gel polish can last up to three weeks without chipping.
The long-lasting nature of gel manicures has made them a very popular option for people who don’t have time for weekly manicures, which, let's face it, is all of us. The only downside is that UV lights could be potentially harmful if used too much—they’re basically tiny tanning beds.
How Gel Is Applied
Gel manicures are typically applied at a salon since the tools needed aren’t exactly friendly for at-home manicures. While you technically can apply a gel manicure at home, the cost of buying the required equipment makes it easier to get done at a salon. The average cost of a gel manicure is about $35 for application and $5-$10 for removal. While this is twice as much as your typical manicure, remember, it will also last twice as long.
Gel manicures begin similarly to any other manicure. The nail tech will prep your nails by soaking them, trimming your cuticles, filing and trimming your nails, and buffing out any ridges or imperfections. Once your nails are looking shiny and new, they will ask you to wash your hands to remove any remaining oils from your nails.
After your nails are fully prepped, the nail tech will apply acetone to each of your nails. They will do this whether or not you have any old polish to remove. This is because, for a gel manicure to bond to your nail, it must be completely free from any natural oils. They will sometimes also use a special gel cleaner on your nails before beginning your color.
Once they are ready to start the color application, they will begin with a clear base coat. The base coat will be applied to each nail, and then the nails will be put under the UV light for 30 seconds to a minute. After this is done on each hand, it is time for color.
The color is painted on much like regular polish. In between each layer of color, your nails will need to cure under the UV Light for 30 seconds to a minute. If you have chosen a lighter color, you may need three to four layers of color. Once the shade is nice and solid, it is time for a layer of top coat.
Your nail tech will apply one layer of gel top coat to your nails, then cure them under the UV light for one full minute. They will repeat this process a second time to seal in the manicure. Once the second layer has cured, the manicure is dry and ready to go. They will clean off your nails and apply a moisturizing cuticle oil.
Overall, this process can take 45 minutes to an hour, but your nails will be dry instantly, so you won’t have to wait for your nails to dry. With an instant drying manicure, you don’t have to schedule your whole day around your manicure. You can squeeze it in whenever!
What Is A Dip Powder Manicure?
Dip powder manicures are newer than gel manicures and are quickly becoming the most popular type of manicures. Dip powder manis last even longer than gel manicures making them the longest-lasting manicure available. These amazing manis can last up to six whole weeks without chipping or peeling.
Dip powder is made up of a fine acrylic powder that is applied by dipping the nail into the powder—hence the name. A bonding base coat is applied to the nail, and then your finger is dipped into the powder to create vibrant layers of colors. The powder is then activated using a special activation liquid that instantly hardens the manicure just like magic.
The best part about dip powder manicures is that the application only takes a couple of minutes and can be easily done at home with the help of a handy Dip Kit. This long-lasting manicure produces stunning, salon-quality results in a matter of minutes without the use of UV lights. This makes them safer and more durable than gel manicures.
How Dip Powder Is Applied
Dip powder application is easy to do at home and will save you from wasting time and money at the salon. To apply a dip manicure, all you need is a Nailboo Dip Kit. This handy starter kit comes with everything you need to get started, including the complete set of liquids, a cuticle pusher, four-way file, brush, Build Powder, color powder, and even some handy removal clips.
To apply your dip powder manicure, prep your nails just like any other manicure. Then gently push back your cuticles using the cuticle pusher from your kit. Next, apply a layer of base coat to one nail. Dip that nail into the Build Powder to protect your natural nails. Once you have done each nail, use the brush to remove any excess powder.
Next, apply another layer of base coat one nail at a time, but this time dip your nail into the color powder. Apply color to each nail, then brush off the excess powder. Repeat this for your second layer of color.
Once you have two layers of color, apply the liquid Activator from your kit. Wait two minutes for this layer to dry. This step will harden the color for a durable final product. After the activator has dried, use the four-way file to buff the tops of your nails. Add one more layer of activator, then wait two more minutes for it to dry. Once the second layer is dry, buff your nails one more time.
Finally, add a glossy layer of top coat to each of your nails. Once this is dry, add one more layer, and voila! You have a shiny new set of nails that will last for six gorgeous weeks.
Gel And Dip Powder Removal
The removal process for both of these types of manicures is pretty similar. However, most of the time, it is recommended that you get your gel manicure removed by a professional, which can cost extra.
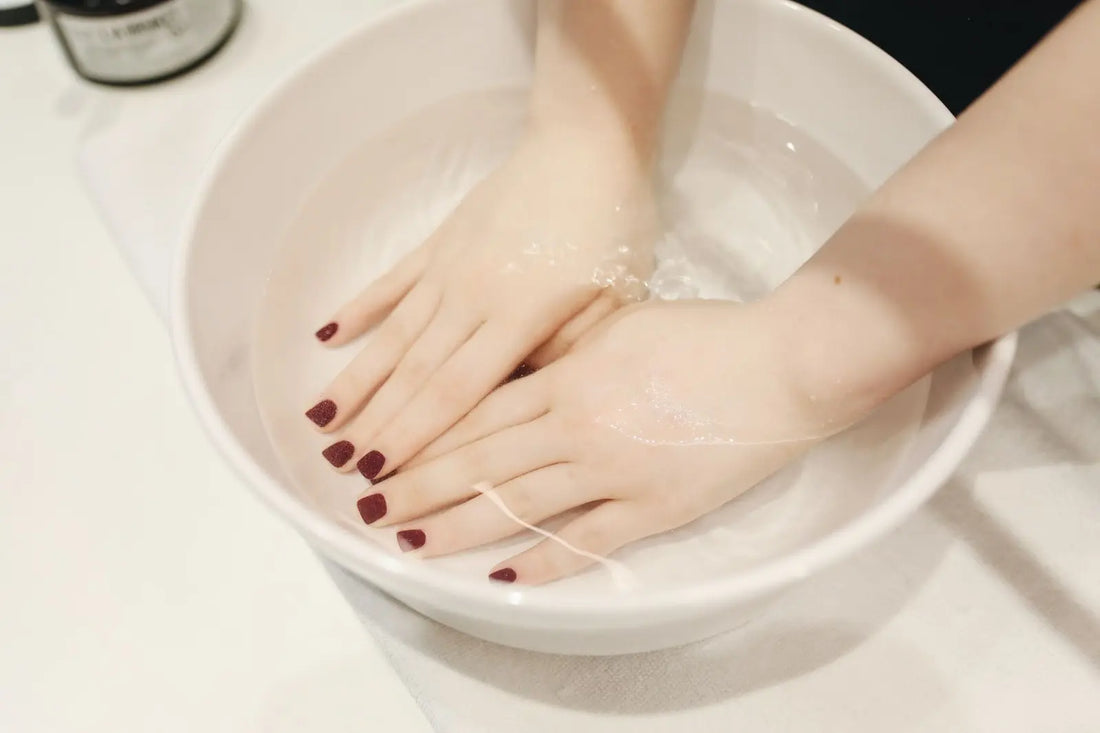
For both manicures, the top of the nail is buffed with a coarse file to remove the top layer of polish. The nails are then soaked in acetone for 30 minutes or until the polish can be easily scraped off. With a Nailboo Dip Kit, you are given a set of handy removal clips that allow you to clip an acetone-soaked cotton round to the top of your nail, allowing you to watch TV while you comfortably wait.
Because acetone is extremely drying, make sure to moisturize after removing either type of manicure to protect your natural nails. You may even want to rub your cuticles with a nourishing oil to protect them from peeling.
Gel vs. Dip Powder
Dip powders last twice as long as gel manicures, can be easily applied at home, don’t use potentially harmful UV lights, and cost a fraction of the price. For all of these reasons, we believe that dip powder manicures are the best. Once you try a dip powder manicure, you will never need to return to the salon—they are that fantastic!

Wrap Up
Now that you know what to expect from a gel or dip powder manicure, which one will you try? If you decide to go for the ease and affordability of dip powder manis, then let Nailboo be your one-stop shop for everything you need.
Sources:
How Much It Costs to Maintain a Gel Manicure | Finance Yahoo