There are many ways to get the nail look you love right at home, and it doesn’t have to break the bank. An at-home manicure can give you confidence, add to your overall style, and help to keep your nails healthy and strong for a long time to come—and Nailboo is here to help.
Not only do we carry essential at-home manicure supplies, like an easy-to-use nail dip kit, but we’re also sharing all the best tips and tricks for taking proper care of your nails today.
A Guide to at-Home Manicures
An at-home manicure can help you to save money on the looks you love. Here are some simple steps you can take to start achieving those exciting styles with ease.
Step One: Remove Your Polish
Before you can apply your new color or style of polish, you need to remove the old polish. Depending on what style of nails you have, like Shellac, gel, or dip nails, you may have a more involved removal process, but it’s always important to take your nail polish off first thing.
Make sure to buy the appropriate nail polish remover to start your DIY manicure off on the right foot. If you have gel nails, you may want to get the polish removed professionally. Still, soaking a cotton ball in acetone and wrapping it onto your nail might do the trick.
Step Two: Shape and File Your Nails
Once your nails are clear of polish, you can begin shaping them to fit your preferred style, like short nails, oval nails, or square nails. If you are maintaining the current shape or you are applying gel or acrylic nails, you’ll still want to take this step to cut your nails down, so they stay strong. This helps prevent chipping and splitting. You also want to top things off with a nail file to avoid any irritation.
Step Three: Maintain Your Cuticles
Your cuticles are located at the base of the nail and it’s as important to care for them as the surfaces and tips of your nails. You want to begin with a cuticle remover, which is a gentle solution that will allow you to soften the area around the cuticle.
If you are planning to push the cuticle back, which can help to elongate the appearance of the nail, you’ll want to make sure that you soften them with cuticle oils before doing so. Massage your hands with hand cream or olive oil after soaking them in a bowl of warm water, then gently use a cuticle pusher to move the cuticle closer to your nail beds.
Trimming cuticles can be tricky, so make sure you have the right equipment instead of trying to cut them away with nail clippers. Manicurists sometimes use tools called cuticle nippers.
Step Four: Moisturize
Removing nail polish can dry out your nails and the sensitive skin around your nails and pushing the cuticles back can have a similar effect on the cuticle area of the nail, as well. One of the best ways to keep both your nails and your hands healthy and soft is to apply moisturizer and maintain proper hydration. This will also make it easy to get a smooth, long-lasting manicure. When you softly brush or scrub the skin, you can also whisk away dead skin cells. Don't forget to rinse and dry your nails, and remove any dust before applying polish.
Step Five: Apply Your Polish
The next step of the manicure process is going to vary depending on what kind of nail polish you are applying, since each one has a different process, and some are more challenging to apply at home than others. Here are some of the easiest options for applying your favorite polishes right at home.
Nail Polish
Nail polish is one of the most common and simple manicures that you can apply at home. Still, there are a few steps that you’ll want to follow to make sure the manicure is as long-lasting and high-quality as possible.
Begin by applying a base coat to smooth out and strengthen your nails and to avoid stains. Then apply a thin coat of polish, and allow this first coat to dry before applying your second coat. Lighter shades may require more than two layers, so pay close attention to your nails to really get the look you love.
If you are adding decals or designs, allow the canvas layer of your nail to dry before painting or stamping on your favorite looks. Once they are properly sealed, add your top coat and allow the look to dry completely. The topcoat is the best way to keep your nail polish strong and protected, so you can enjoy your favorite style for a long time to come.
Gel Nails
Gel nails are typically applied at the nail salon, but you can apply gel nails at home with the proper tools and materials, most especially a curing lamp, which will help to seal the polish into place. You will also want to make sure you have gel polish, as the specific polish makeup allows the curing process to work effectively.
You’ll begin the gel nail application with the same steps as most manicures, including cleaning, buffing, and hydrating. The big difference is that you’ll use gel polish, rather than a traditional paint polish, and you’ll want to cure the gel polish into place between every application. You will also want to cure the top coat of gel polish, to really seal the manicure in and get all the best benefits of an at-home gel manicure.
The number of layers of gel polish that you apply will depend on how thick or dark you want your manicure to look, so always consider your personal style and outfits between layers.
Dip Polish
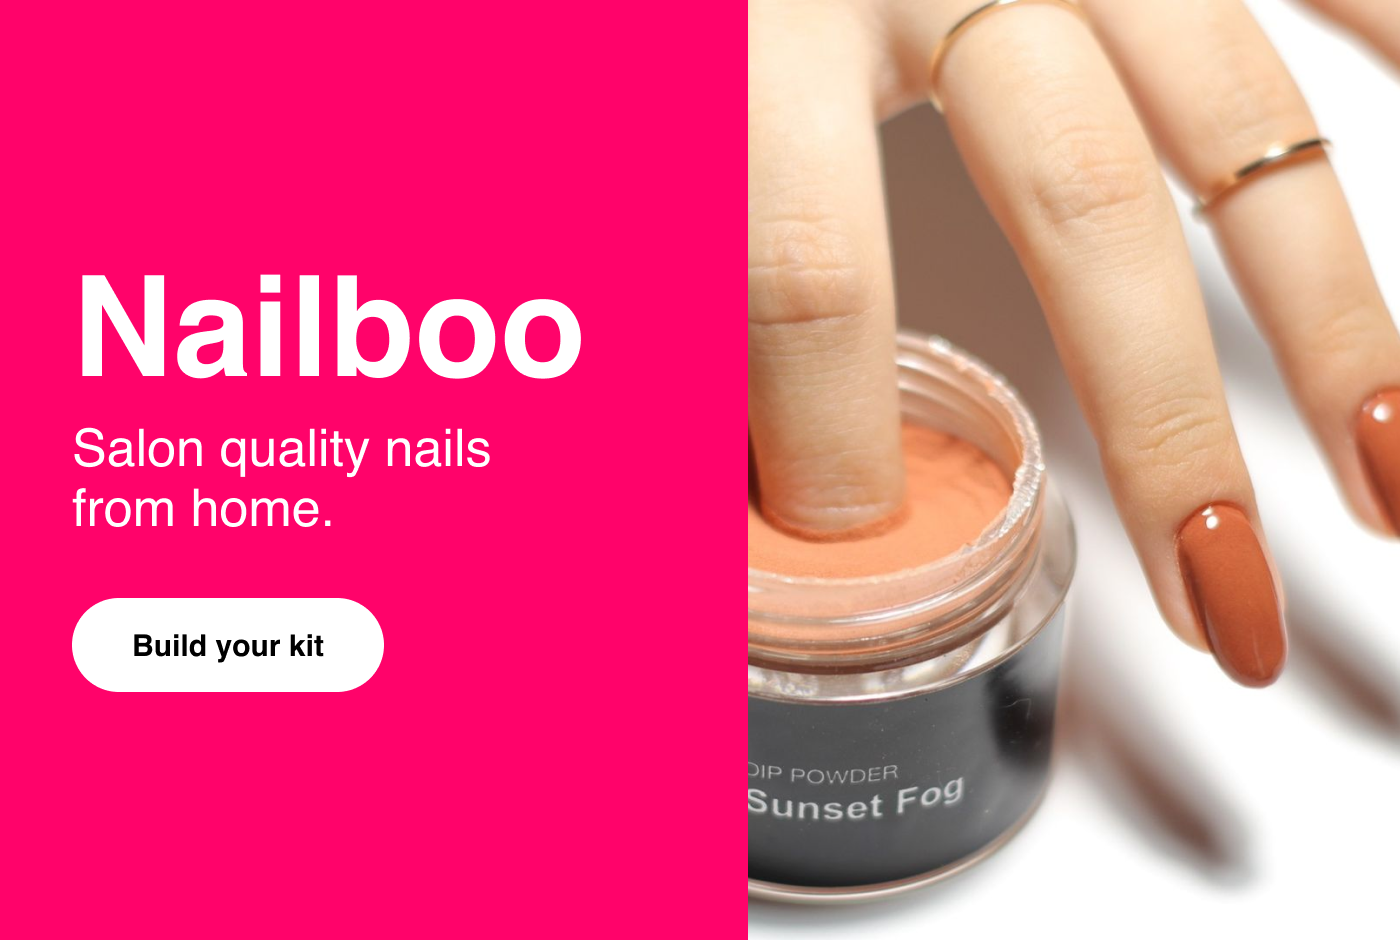
Of course, here at Nailboo, we’re all about the dip polish process. There’s no better way to get those beautiful and long-lasting nail styles that you love than with our simple and easy-to-use nail dip kits.
Similarly to gel nails, you will need to use a sealant or activator between coats and colors, but the nail dip process is smoother and easier than any other manicure style. To start, simply apply your base coat and then dip it into the build powder, taking care to remove any excess powder before moving on to the next step.
Then apply another layer of base coat, and this time dip your nail into your color of choice. The nail dip process produces bright and exciting colors, so you don’t typically need more than one or two applications, but always remember to apply the paint first, before dipping into the polish. Remove the excess once you’ve finished with the nail.
Once you have the color you want, you’ll apply an activator liquid, which is the key tool for getting the long-lasting and high-quality benefits of your manicure. You will then take the time to file and buff your nails before applying a second layer of the activator liquid.
After two minutes, your activator liquid will be completely dry, at which point you can apply your top coat twice, waiting two minutes before applying. This will give you that lovely shine that’s sure to match any look or style.
Conclusion
There are many easy and exciting ways to get the nail looks you love right from the comfort of home, with nail polish, gel polish, and at-home dip kits—and Nailboo is here to help you every step of the way.
Not only are we sharing the best tools and materials for keeping your nails healthy, shiny, and strong, but we’re also providing a guide of resources and information, so you always know the best steps and methods for proper nail care and for achieving your favorite looks.
That’s why we’re sharing design and style ideas, like marbling, holiday looks, gradient nails, and a whole lot more. It’s also why we’re making it easy to begin giving yourself a salon-quality style without the salon-quality cost.
When you’re ready to try the next great at-home manicure, turn to the team at Nailboo. We have all the tools, colors, and designs that will help you achieve those fun and unique styles you’re sure to love, and getting started is easy.
Shop the Look
Want to get the perfect mani every time? Shop these helpful products!
Sources:
New Ways to Moisturize Those Brittle Nails | New York Times
Everything You Need to Know Before Getting a Gel Manicure | Seventeen
Everything You Should Know Before Getting a Dip Powder Manicure | Elle