There are many different options available to you when it comes time for the next manicure, and each one has its own benefits and advantages. If you’re on the search for a long-lasting, high-quality manicure that doesn’t chip and has a lower impact on the health and wellness of your nails than other options, then the gel manicure might be the right option for you. Gel nails are growing in popularity, and it’s not hard to see why.
When it comes time to decide on the best manicure method and tools for the job, Nailboo is here to help. Our role goes beyond providing easy-to-use nail powder dip kits and materials for salon-quality at-home manicures.
We also want to share all the information and resources we’ve learned over the years of perfecting the manicure, so you can make the best choices for your nails, your styles, and your health, from acrylics, to nail tips, to dip powders.
Here’s your Nailboo guide to getting gel nails and why they’re a great choice for you.
What Are Gel Nails?
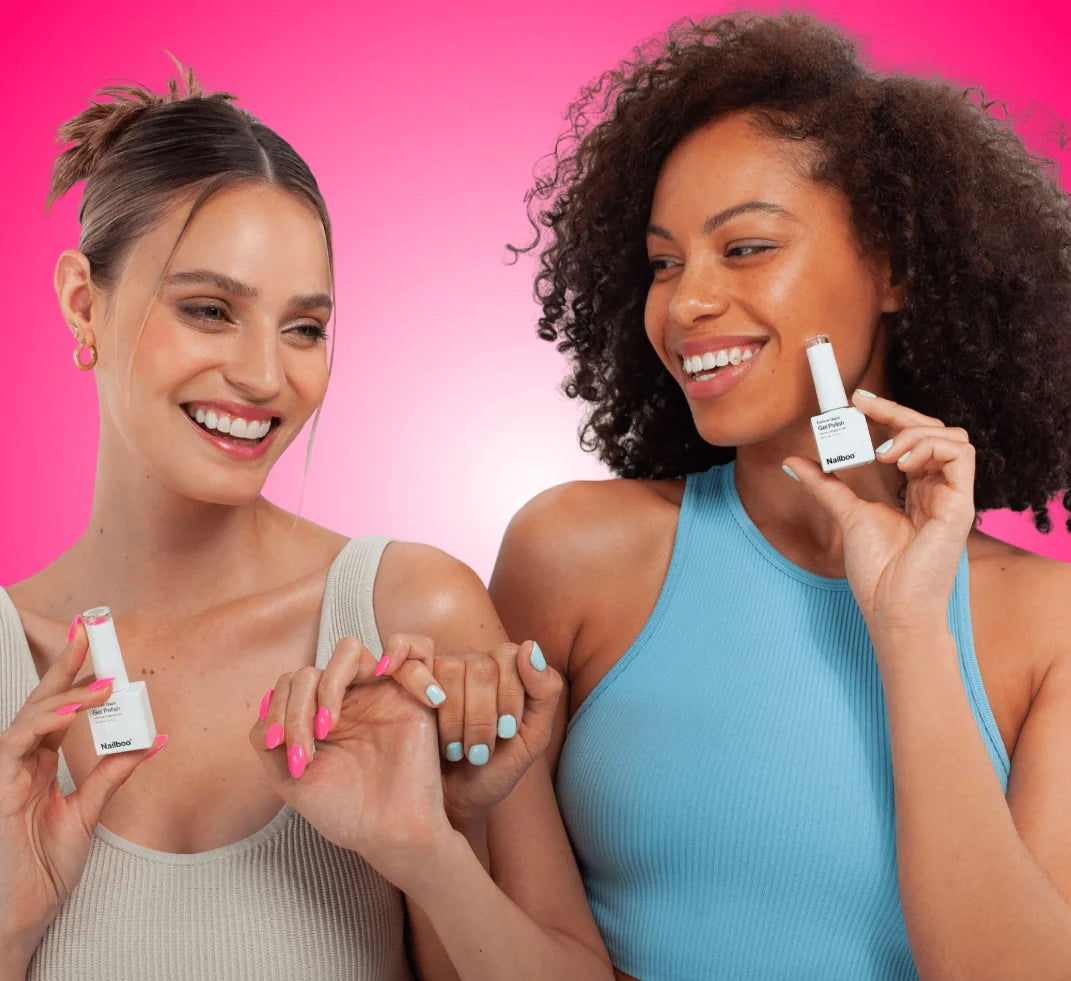
Gel nails are an increasingly popular manicure option that bears some resemblance to both acrylic nails and traditional nail polish manicures. The gel isn’t actually a paint polish. Instead, it’s a type of lacquer-like material that is painted directly onto the nail, the same way you would with your favorite classic polish.
Once applied, the gel polish is then set with the use of a UV light or alternative, and hardened instantly. With gel nails, you can walk out of the salon within a few minutes of application, which means no more waiting for a smooth and silky final product.
Benefits of Gel Nails
Gels are smooth and silky. There are many reasons why gels have become a competitor to both acrylic nails and traditional polish manicures in recent years, and the classy, stylish finished product is just one of them. Here are a few more benefits to getting gorgeous gel nails for your next manicure.
They’re Long-Lasting
It can be time-consuming and costly to go to the salon every time you need a new manicure, which is one reason why it’s so easy to fall in love with gel manicures. While you may need a fill-in from time to time, gel nails can last several weeks and up to a month with proper care, which means you can set them and forget them after one quick trip to the salon.
They Don’t Chip Easily
Because of the way that gel nails are set with UV light, they are less prone to chipping and the kind of smudging that happens when you just leave the salon. If you’re looking to improve the strength and health of your nails, gel nails are a great option.
While you always want to allow your nails to heal before applying any type of polish, the protection you get from gel polish can allow your nail to continue to grow long and healthy.
They’re Low-Impact
While it’s always a good idea to return to the salon to have your gel nails removed from a certified technician, gel nails have a far lower impact on the health and wellness of your nail than alternative options like acrylics. Because there’s no adhesive or plastics sitting on the natural nail, the polish comes off relatively easily and leaves behind few side effects.
It’s important to note that you never want to chip or peel at your gel, as that can strip and damage the nail below. But, when properly removed, gels cause little to no damage to the nail.
They Dry Quickly
When we have to wait for our nails to dry it means there’s more opportunity for the paint to become smudged or damaged and we have to wait at the salon for longer. The quick-dry process of gel application ensures that your nails come out silky smooth every time and that you don’t have to worry about any potential smudges that set in the paint.
Plus, you’ll be in and out of the salon in no time.
You Have Many Options
Do you love unique and individual styles? So do we! Nail art has long been used as a means of self-expression and gels are an excellent option for showcasing all of your favorite looks and styles because of their smooth surface.
You have a lot of great colors and design options for gels, including glitter, marble, and geodes. Your technician can apply designs, decals, and jewels for nail looks that will really make you stand out!
How To Do Gel Nails: Step-by-Step
With all of these great benefits, gels may seem a little intimidating to try out at home, but don’t worry. While you can certainly visit your favorite salon to get a gorgeous gel look, you can also pick up a few simple tools that make it easy to begin practicing gel manicures for yourself and your friends today. Here’s the step-by-step to applying gel nails at home.
Step One: Gather Your Materials
You always want to make sure you have the proper materials for getting a gorgeous manicure and for keeping your nails healthy and strong. For a gel manicure, you’ll need your nail care kit, base coat, gel color, UV lamp, and cotton balls.
Step Two: Prepare and Care for Your Nails
Use the tools and materials in your nail care kit to prepare your nails for the gels. That means shaping and trimming your nails to the preferred style and pushing your cuticles back from the nail with a cuticle pusher.
It’s also very important to remove the oil from the surface of your nails before applying your polish, or else the polish won’t adhere properly. Acetone can be useful for this step.
Step Three: Apply the Base Coat
Gels are like the middle ground between acrylics and traditional manicures. After you have prepared your nails and cuticles, you’ll want to apply the base coat to the surface of your nails to ensure the polish adheres properly and to protect your nail from damage.
Unlike with classic nail polish, however, you want the base coat layer to be very thin, so take the time to ensure there isn’t too much on the surface of the nail. It’s also best to avoid the skin around the nail since the UV lamp will be used to set the polish into place.
Allow your base coat to dry completely, which means letting it cure for about 60 seconds under the UV light before moving on to the next step.
Step Four: Apply Your Color
Pick your favorite gel colors and apply them over the surface of the dried base coat. You will be applying two layers and, like the base coat, you’ll want to make sure that the layers you apply are very thin. It’s important to allow the paint to cover the tip over your nail so that the paint doesn’t shrink away from the nail’s surface after drying.
Step Five: Set With UV
Use your UV lamp or UV lamp alternative to set your gel manicure into place. You will want to allow each finger 2-3 minutes under the lamp. Then apply your thin topcoat and set it under the lamp for 2-3 minutes again.
Step Six: Clean and Fix
If you notice that there is excess polish or that the top layer is sticky or tacky, grab a cotton ball and alcohol. Gently rub it over the sticky part of your nail until the excess polish is removed and the surface is smooth. Then sit back and enjoy your finished manicure!
Conclusion
Gel nails are a unique and stylish manicure option that can leave your nails looking smooth and feeling healthy for weeks at a time. You can get it done at your favorite salon or begin applying gel polish at home with a few simple materials and steps.
It has a lower impact on the health and wellness of your nails than other manicure alternatives. Gel polish has many benefits, and you can always get a unique and stylish manicure with decals, designs, and stamps.

Nailboo is here to help you find the best new manicure option to fit your style and your nail needs. Not only do we offer easy-to-use dip powder kits, but we also have your guides for trying out different nail styles and options today, including acrylics, Shellacs, and gels. Explore our growing library and give gels a go for your next unique and beautiful manicure.
Sources:
From Ancient Egypt to Cardi B: A Cultural History of the Manicure | The Guardian
The Ultimate Guide to Finding Your Perfect Nail Shape | Harper’s Bazaar
How to Get Gel Nails at Home Without a UV Light | Rachel Ray Show