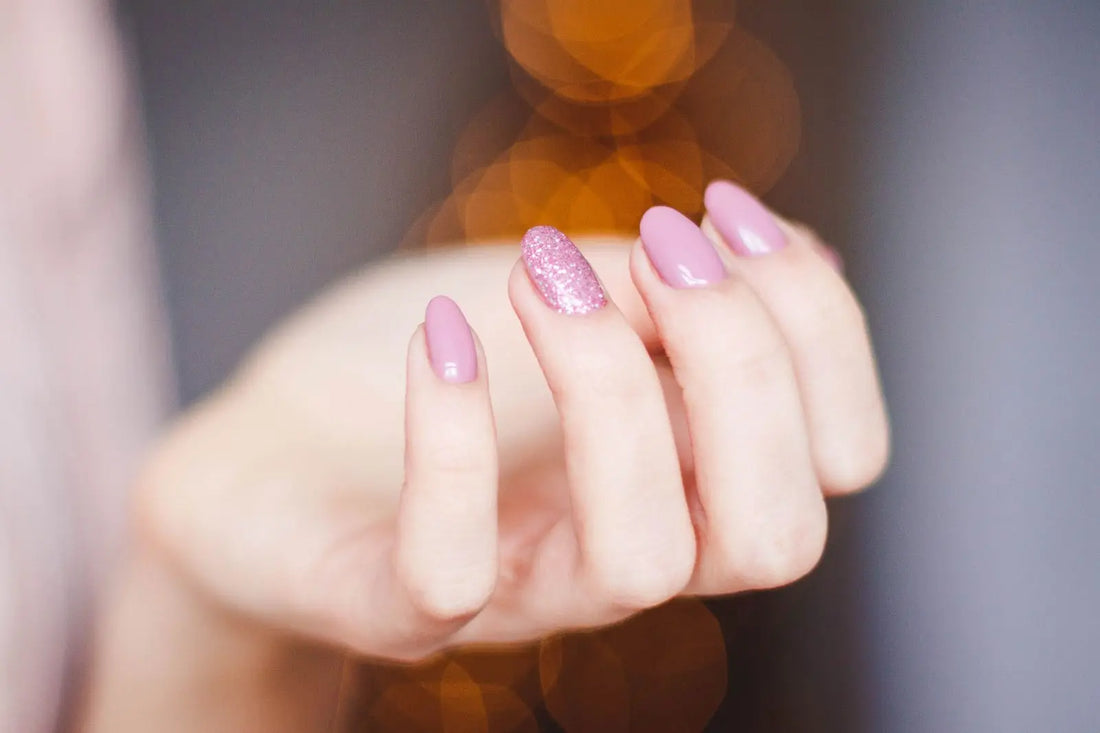
With the pandemic, we have all had to adjust to spending a lot more time at home. Most of us miss the time we used to spend going to restaurants, malls, and most of all, the nail salon. Lucky for you, we know the ins and outs of creating the whole mani-pedi experience from the comfort of your own home.
Trust us, even long after the pandemic is over, you will want to keep doing your own nails. It will save you money, time and keep your nails looking fabulous 365 days a year. All you need are a few basic supplies, and you’ll be ready for the at-home spa day you've been needing.
Dip Powder
If you are reaching for the drug store nail polish you bought years ago, stop! There’s a better way to get the mani-pedi of your dreams. NailBoo Dip Kits will give you salon results that are durable and long-lasting. The application is even easier than traditional nail polish, and the stunning results will have you wondering why you ever put up with smudgy, messy nail polish.
Dip powder is made of acrylic powder. To apply it, you simply paint your nail—toes or fingers—with the base coat, then dip it into the powder. Then, using the brush from your kit, gently brush off the excess powder and apply a second layer.
Once the final layer is applied, a special activator is painted on, hardening the manicure instantly. This is sealed in with a layer of top coat, and bam! Just like that, you’ve got a salon-quality paint job that is ready to wear.
What You’ll Need
Essentials:
- Nailboo Dip Kit
- Nail file
- Nail clipper (for longer nails)
- Acetone
- Buffer
- Cuticle pusher
We recommend starting out with one of our NailBoo Dip Kits. These kits come with everything you need for the perfect at-home manicure and pedicure. Each starter kit comes with the signature three-step liquid kit and a cleaner for finishing effects. You’ll also get build powder, colored powder, a brush, a four-way file, cuticle pusher, and remover clips to help you safely remove your color once you are finished.
In addition to a NailBoo Dip Kit, you will need a few things to make your mani-pedi just as relaxing as the one you would get at a salon. These things are optional, but they really complete the spa experience. If your goal is to get the color on ASAP, then skip these steps. But if you have time for gorgeous nails with a side of self-care, then these extras are for you.
Relaxing Extras:
- Toe separator
- Pumice stone
- Exfoliating scrub
- Lotion
Start With Your Prep
While it may be tempting to skip straight to color application, trust us, this is not the way to get a lasting mani-pedi. For best results, you should adequately prepare your nails and cuticles before applying. But don’t worry! It’s much easier than it looks. Just follow these simple steps.
If you are doing both a mani and a pedi then do all your prep at once. If you're in a rush, you can skip straight to step two for a more efficient mani-pedi.
1) A Luxurious Soak
Place your pumice stone in the water while your feet soak—you should never use a pumice stone dry. After your feet have soaked for 5-10 minutes, take some time to gently scrub the bottoms of your feet with the pumice stone to remove dead skin cells. This will leave your feet feeling silky smooth.
Next, gently apply an exfoliating scrub to your legs and arms to gently remove dead skin cells. Take this time to relax into the total spa experience. After all, one of the best parts of the salon experience is when they exfoliate and massage your legs and arms.
After you have finished soaking, dry off and apply lotion to your freshly exfoliated arms and legs. For best results, wait at least 30 min for your fingers and toes to completely dry before applying your dip manicure.
2) Push Back Your Cuticles
Use a cuticle pusher to gently push back your cuticles. We do not recommend trimming your cuticles unless you need to remove a small hangnail. While this is common at most salons, cutting your cuticles is not actually necessary. It can lead to cuticle tearing and dryness. So ditch the cuticle trimming and just gently push your cuticles back instead.
4) Cut File and Shape Your Nails
Now that your cuticles are in tiptop shape, it is time to file and shape your nails. Before you file, make sure your nails are completely dry. Start by using a nail clipper to adjust the nail length to your liking. If you have short nails, skip the clippers and go straight to the filing.
Once you have clipped your nails, use a nail file to smooth your nail’s edges into your desired shape. Make sure to file starting at the outside edge and moving towards the center in one direction. Never file back and forth; this will leave your nails with a jagged edge.
5) Buff Your Nails
Next, use a buffer to gently smooth out ridges create the ideal surface for color application. Use a soft four-way buffer like the one that comes with your NailBoo grooming kit. This step will remove oil buildup on the nail’s surface and create a nice smooth surface.
6) Apply Acetone To Your Nails
Before you begin applying color, use a cotton ball to apply acetone to each of your nails. This will remove any natural oils or lotion residue from your nails to ensure that your color will stay put longer.
Dip Powder Application
Once you have prepped your nails like a professional nail tech, it is time for the fun part: applying color! Start with your pedicure; it will be easier to apply the color to your toes if you aren’t worried about messing up your fingers.
Before you begin, put on your toe separator. If you don’t have a toe separator, simply twist up some toilet paper and weave it in between your toes to separate them a bit.
1) Base Coat And Build
Apply a thin layer of base coat (Base 1) from your NailBoo Kit to one of your nails. Then dip that nail into the Build Powder and tap off the excess powder. Repeat this with each nail, and then use the brush to remove any remaining excess powder.
The amazing NailBoo Build Powder adds a strong foundation to help prevent lifting and protect the natural nail underneath.
2) Base Coat And Color Powder
Apply another layer of the base coat liquid to each nail, but this time dip the nail into the color powder of your choice. After you have done each nail, gently brush off the excess powder. Repeat this process twice to create two layers of color.
3) Activator Coat
Apply the special activating liquid (Activator 2) from your NailBoo Kit to each nail. Wait two minutes for this layer to dry.
This is the step that brings your dip manicure to life. The Activator hardens the color for a durable final product.
4) File And Buff
After your coat of Activator has dried, use the buffer to buff the tops of each nail. It may seem strange to buff over your color but trust us, the results will speak for themselves.
5) Repeat Steps Three And Four Again
Add another layer of Activator and wait two minutes. Then buff one more time.
6) Top Coat
Finally, apply the top coat (Top 3) from your NailBoo Kit to each nail. Then wait a couple of minutes and apply a second layer.
This top coat is the finishing touch that secures everything together, delivers beautiful shine, and even protects your nails from the harmful UV rays of the sun.
7) Repeat The Steps On Your Hands
Now your toes are looking like a million bucks! Repeat these steps on your fingernails for a mani to match your pedi.
Enjoy Your Amazing Mani Pedi
You did it! You have given yourself a salon-quality mani-pedi at home. Now you get to enjoy your shiny, fresh set of nails for the next three to six weeks. NailBoo makes it easy to get fantastic results at home for a fraction of the cost of a salon trip. Get ready to save money and time while sporting a stunning set of nails that will have your friends wondering who your amazing new nail tech is.
Sources:
How to Use a Pumice Stone | Healthline
Caring for Your Cuticles | WebMD
How To Do A Pedicure At Home - Essential Pedicure Tools | Women's Health Mag


