We’ve all struggled to paint our own nails with traditional polish. Somehow, your polish always ends up uneven, filled with bubbles, or worse, all over your floor. Even if you somehow paint each nail with flawless perfection, you will likely bump or smudge it before it is dry, ruining all your hard work—ugh. Luckily, there is a better way!
It’s time to level up your at-home manicure game. Dip powder manicures are a fantastic new option that will make your at-home manicure the best you’ve ever had. This amazing new type of polish is the longest-lasting type of nail color available. Making them great for long vacations or anytime you need a durable set of nails that will last for weeks without chipping. The best part is, they are super easy to apply at home.
What Are Dip Powder Nails?
Dip powder nails are a type of polish application where the nail is painted with a transparent base coat and then dipped into a fine acrylic powder. That powder is then activated with a special liquid that instantly hardens the polish for a gorgeous set of nails that lasts for three to six weeks.
If you have ever gotten a gel mani at your salon, then the instant drying nature of dip powder nails may sound familiar. However, there is one huge difference between these two nail techniques. With you get a gel manicure, the polish is painted onto your nails, and then a UV light is used to cure the polish. This technique takes way longer than dip powder, and the UV light could be harmful to your health if used too often. Dip powder manicures don’t need UV light to harden, making them a safer and more accessible option for home application.
Dip powder is easy to apply as a manicure or pedicure and can be used on fake nail tips for added length or natural nails. This incredibly versatile technique will amaze you with its stunning results and easy application. Trust us. Once you try dip powder for yourself, you’ll never need to go back to the salon again.
What You Need To Apply Salon Quality Nails At Home
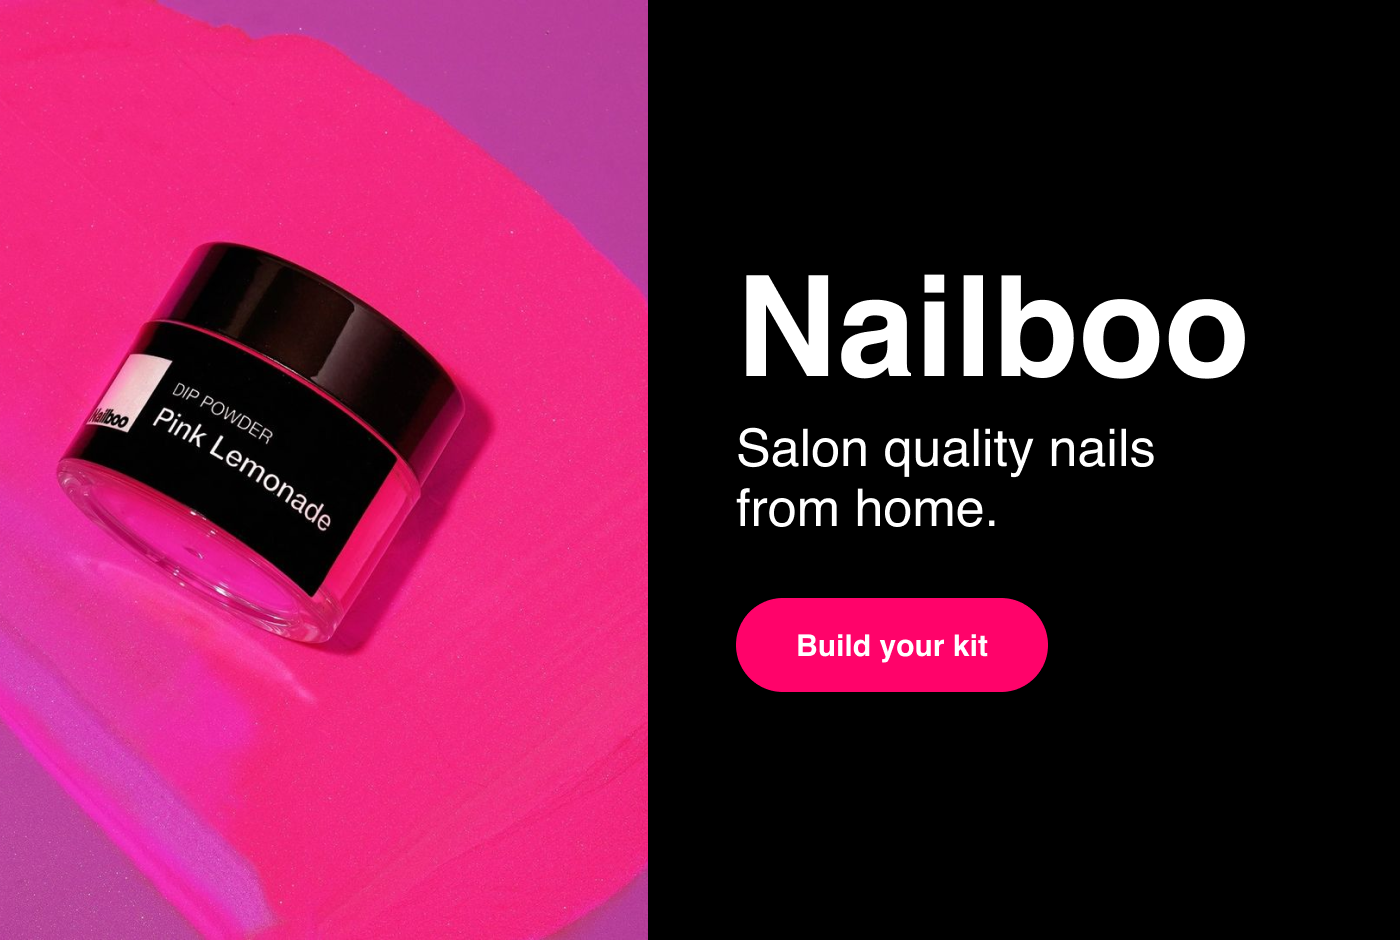
Getting started with dip powder nails is super easy. All you need is one of Nailboo's Dip Kits! These handy kits come with all the stuff you need to apply and remove beautiful dip powder nails. Plus, you get to pick out the colors you want.
There are three kits to select from depending on the total amount of color powders you want to start with. The more colors you get, the better the value is for the kit overall. Each jar of color powder contains enough product to do 30 full sets of nails. That means that with each jar of color powder you pick, you’ll be saving 30 trips to the salon—that’s a lot of time and money.
Here are the three different Dip Kits to choose from:
- The Starter Kit: This kit includes one jar of color powder. This is an excellent kit for dip powder beginners or someone who is loyal to one shade of polish.
- The Essentials Kit: This kit includes four jars of color powder and is perfect for anyone who likes to have more than one color option to pick from.
- The Pro Kit: This kit includes six jars of color powder and is the best value. With this kit, you can get a wide variety of colors that are sure to match any outfit.
Every kit comes with all the supplies you need for application and removal, including:
- Three-Step Liquid Kit: Base 1, Activator 2, and Top 3.
- Cleaner Liquid: For finishing effects.
- Build Powder: To create a smooth base and protect your natural nails.
- Color Powder: The color powder or powders of your choice.
- Brush: For removing excess powder.
- Four-Way File: This file has four different sides of varying coarseness for filing and buffing.
- Cuticle Pusher: To groom your cuticles and help with removal.
- Removal Clips: Handy clips that make the removal process easy and mess-free.
How To Prep Your Nails Like A Salon Professional
The first step to applying salon-quality nails is prepping like a pro. Whenever you go to the salon for a manicure or pedicure, the first thing they do is clean up your nail beds and groom your nails. To get the same stunning results, you will need to do a little bit of nail maintenance first.
Start by filing all of your nails with the four-way file. Glide the file in one direction over the tip of the nail, starting on one edge and rounding into the center. To get salon-quality results, avoid filing back and forth.
Now, use the cuticle pusher from your Nailboo kit to push back your cuticles gently. We don’t recommend trimming your cuticles, as this can lead to peeling a few days following your manicure. To get salon-quality results and protect your cuticles, all you need to do is gently push them back.
Once you have groomed your nails and cuticles, you’ll need to buff each nail. Use the gentle side of your kit’s four-way file to buff the top of each nail. This will help prepare a smooth surface for your manicure to be applied to and remove any oil build-up that might be on your nails. After you are done buffing, wash and dry your nails to remove any debris.
To make sure that your dip powder manicure stays put as long as it possibly can, use a cotton pad with some acetone to make sure your nails are completely free of oils before you apply your color. This step is optional but will ensure that your color comes out in tip-top shape.
How To Apply Dip Powder Nails Like A Pro
Now that you have prepped your nails like a pro, it is time for the fun part. Dip powder nails are applied unlike any other type of polish. So, it may take one or two tries to get used to the process, but once you get the hang of it, you’ll be able to apply this manicure in a matter of minutes. Trust us. It’s super easy!
To dip your nails like a pro, follow these easy steps:
- Base Coat Then Build Powder: First, paint a nail with one layer of Base 1 from your Nailboo Dip Kit, and then dip that nail into the Build Powder. Then repeat this with each nail. Build Powder will reinforce your natural nail and create a smooth foundation for your polish. Once you have dipped each nail, brush away any extra powder.
- Base Coat Then Color Powder: Next, paint one nail at a time with Base 1, then dip it into the selected color powder. Repeat this twice per nail to create two layers of rich color. Once you’ve dipped all of your nails, brush away the leftover powder.
- Liquid Activator: After you have dipped on two layers of color, paint your nails with Activator 2 and wait a couple of minutes until it is dry. This step instantly cures your sturdy new set of nails.
- File Then Buff: Once the Activator has dried, use the coarse file from your four-way file to buff the top of each of your nails. Not to worry! This won’t take off the color.
- Activate Then Buff One More Time: Next, paint another layer of Activator 1 onto your nails and then wait two minutes once more. Buff the top of each of your nails one last time.
- Shiny Top Coat: Seal in your beautiful new nails with a layer of sparkling Top 3. This glossy layer of top coat will guard your nails against the sun’s UV rays and give your nails that shiny, fresh from the nail salon look.
- Clean-Up: If there are any areas where you’ve made a mistake, use the liquid cleaner from your Nailboo kit to easily wipe it away.
With the help of your trusty Nailboo Dip Kit, you can get flawless, salon-quality nails in just a few easy steps. This process is mess-free and can be done anytime, anywhere. So you can say goodbye to the days of scheduling your whole life around lengthy nail appointments. With your Nailboo kit, you can squeeze in a fresh set of nails whenever you have time.
Wrap Up
Nailboo is the one-stop shop for stunning salon-quality nails that you can apply at home. You will no longer have to choose between the expense of the salon and the mess of applying traditional polish yourself. Dip powder is easy to use and turns out perfect every single time. So, what are you waiting for? Pick out your kit today!
Sources:
Nails: How to Take Care of Your Cuticles | Web MD
How to File Nails Safely So They Don't Break or Peel | Healthline