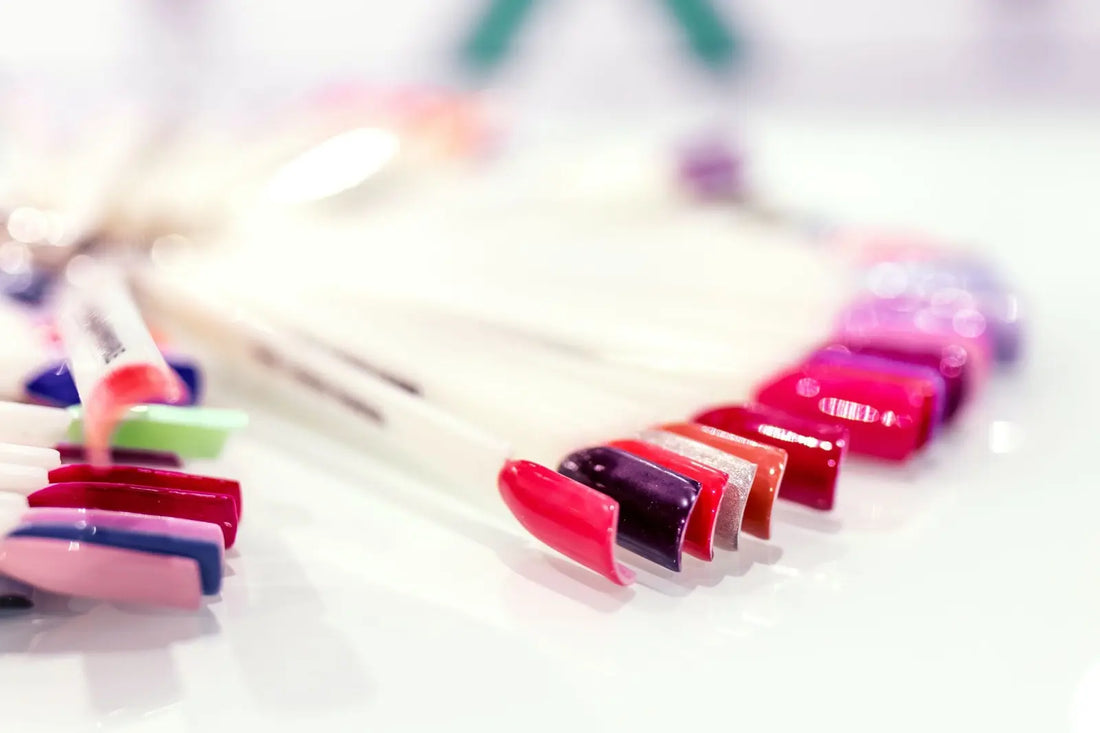
During the pandemic, many of us have had to adjust to spending most of our time at home, forgoing our frequent trips to the nail salon. Luckily, there are tons of great techniques for getting a salon-quality manicure from the comfort of your home. Today, we will cover all of the different types of nails you can do from home and how to apply them.
Whether you are looking to replicate your favorite salon technique or try something new, we have the low down on all types of nails and how to apply them. Get ready to become your own nail tech. Who knows? After discovering the ease and affordability of an at-home manicure, you might even ditch your salon for good.
The Prep
No matter what type of nail you end up choosing, you will need to prep your nails and cuticles before getting started. The filing, buffing, and cuticle care you get at the salon aren’t just part of a relaxing experience. These steps are essential to creating a manicure that is long-lasting and gorgeous.
What You’ll Need To Prep
- Nail file
- Acetone
- Buffer
- Cuticle pusher
Prep Steps
1. File Your Nails- Move the file in one direction over the nail, starting at the edge and rounding towards the center. Do not file back and forth, as this creates rough edges.
2. Push Back Your Cuticles- Use a cuticle pusher to gently push back your cuticles.
3. Buff Your Nails- Use a four-way buffer to gently smooth out ridges and remove oil buildup on the nail’s surface.
4. Wash Your Hands- Wash your hands to remove any residue.
5. Acetone- Apply acetone to each nail to remove all remaining oils. This will help your polish stay put for longer.
The Color
There are tons of different ways to apply color to your nails. Here is everything you need to know about each type of nail and how to apply them.
Regular Nail Polish
Everyone is familiar with regular nail polish. It is relatively easy to apply and is typically very affordable. Regular nail polish typically lasts about a week before it ultimately starts to chip off.
Ever wonder why salon manicures always seem to look better and last longer than when you paint your nails at home? This is because they always use a base and top coat. Although it may be tempting to go straight for the color, don’t skip these essential steps.
How to apply:
- Prep: Always prep your nails for salon-quality results.
- Base Coat: Apply a layer of base coat to each nail. This will ensure that your color sticks to your nails for long-lasting effects.
- Nail Polish: Next, apply two thin coats of your chosen nail polish. On each nail, use three strokes, one on each side of the nail and then one down the middle. Lightly brush the tip of your nail with the final stroke to seal the edge.
- Top Coat: Seal in your beautiful color with a layer of top coat. Simply brush this on the same way you applied the color.
- Dry: Wait patiently for your nails to dry. Your nails should be mostly dry after 20-30 minutes. However, your nails will not be fully cured for 24 hours, so be gentle with them until they are fully set.
Gel Manicure
Gel manicures have become very popular in the last few years. They last longer than traditional polish and are dry instantly, so you don’t have to worry about smudges. These manicures are long-lasting but can be pricey to try at home.
Gel manicures work by using a special polish placed under a UV lamp between each coat to cure the manicure, making it instantly harden. If you want to try applying a gel manicure at home, you will have to get your own UV lamp, a gel polish, base coat, and topcoat. This pricey set-up is why gel manicures may not be the best option for at-home manicures—it’s a pretty big commitment.
How to apply:
1. Prep: Always prep your nails. Buffing is especially important for a long-lasting gel manicure.
2. Base Coat: Apply a layer of base coat to each nail. Cure your base coat in the UV lamp for 30 seconds.
3. Gel Polish: Apply one coat of your gel polish. Cure each coat in the UV lamp. Repeat this until the color is nice and solid. This may take three to four layers for lighter colors.
4. Top Coat: Once you're satisfied with your color, apply a top coat to each of your nails and cure it in the UV lamp twice to seal it all in.
5. All Done: Once you have finished, your nails should be completely dry and ready to go!
The fantastic results of gel manicures make them an appealing option for regular manicures. However, you may want to limit your use of this type of nail because the UV lights used to dry the polish may be harmful to your hand’s skin over time.
Dip Powder
When it comes to giving yourself a salon-quality manicure at home, no polish is easier to apply or lasts longer without chipping than dip powder. This amazing new nail technique has revolutionized the at-home nail game.
Dip powder manicures harden instantly, just like gel but without the use of harmful UV lights. With dip powders, you don’t need to purchase any bulky equipment. All you need is a Nailboo Starter Kit. These handy kits come with everything you need for a stunning at-home manicure.
The starter kits come with a three-step liquid kit, a cleaner for finishing effects, build powder to protect your nails, colored powder, a brush, a four-way file, cuticle pusher, and remover clips to help you safely remove your color once you are finished. It’s basically a whole salon in one handy kit.
How to apply:
- Prep: Always prep your nails. Buffing is especially important for a long-lasting dip manicure.
- Base Coat And Build: Apply “Base 1” from your NailBoo Kit to one of your nails. Then dip that nail into the Build Powder and tap off the excess powder. Repeat this with each nail, and then use the brush to remove any remaining excess powder.
- Base Coat And Color Powder: Apply another layer of the base coat liquid to each nail, but this time, dip the nail into the color powder of your choice. After you have done each nail, gently brush off the excess powder. Repeat this process twice to create two layers of gorgeous color.
- Activator Coat: Apply “Activator 2” from your NailBoo Kit to each nail. Wait two minutes for this layer to dry. This is the step that brings your dip manicure to life by hardening the color for a durable final product.
- File and Buff: After your coat of Activator has dried, use the buffer to buff the tops of each nail.
- Repeat Steps Three and Four Again: Add another layer of Activator and wait two minutes. Then buff one more time.
- Top Coat: Apply “Top 3” from your NailBoo Kit to each nail. Wait a couple of minutes, and then apply a second layer. This top coat is the finishing touch that secures everything together, delivers beautiful shine, and even protects your nails from the harmful UV rays of the sun.
You will be amazed at how easy and mess-free dip powder manicures can be.
Acrylic Nails
If you are missing your long, gorgeous salon-sculpted acrylic nails, then we have some bad news and some good news. The bad news is that this type of nail is not really hackable for an at-home manicure. There are too many chemicals and heavy-duty equipment involved. The good news is that you don’t have to give up your fabulous long nails altogether.
You can get an at-home nail makeover by using high-quality nail tips and a dip powder manicure. The dip powder will make your at-home version just as strong as the acrylics that you’re used to.
How to apply:
1. Prep: Always prep your nails. Buffing is especially important to ensure that your tips have a good grip.
2. Glue: Use one coat of salon-quality nail glue to attach your Pro-Tip nails to each finger.
3. Dip: Follow the above instructions starting at step 2 to apply your dip manicure the same as you would on natural nails.
Using Pro-Tip nails with a dip manicure will give you fantastic, salon-quality results. You may even find that you prefer the ease and affordability of this amazing manicure to your costly salon acrylics.
Wrap Up
Our top pick for outstanding salon-quality results is the dip powder kit from Nailboo. Dip powder nails are the ultimate easy hack for long-lasting, salon-quality nails. Trust us—once you try it, you will never want another type of manicure again—it’s that good!
No matter which type of nails you choose, remember to treat yourself to some at-home salon time. It’s relaxing, fun, and ends with you having a fresh manicure. What are you waiting for? Get painting!
Sources:
How to File Nails | Healthline


