With this purchase, you choose to become an Boo Club member and understand that you will be charged $29.99/month, converted to $29.99 of store credit. The 1st month is just $1.95. You can pause or cancel anytime.
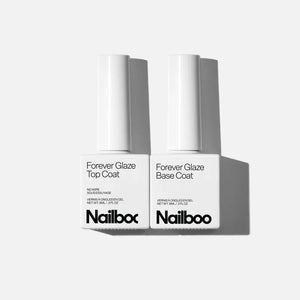
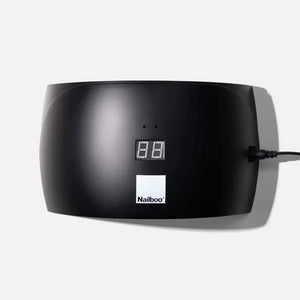
Now, let's dive in! First, we’re going to show you how to use the Garden Gems Gel Polish Pot with gel polish. Start by applying a thin layer of Nailboo’s Forever Glaze Base Coat to your nails. Make sure to apply it in a rubbing motion for the best adhesion. Once it’s on, cure for 60 seconds under the Nailboo Pro Cure LED Light.
Apply Background Color & Cure (Optional)
You can totally apply a background color before the Garden Gems if you want to add an extra pop! These flower gels work beautifully over any background dip and gel colors! Here we are using one coat of Sweet Retreat and curing that for 60 seconds in a LED Lamp.
Apply Garden Gems Gel & Cure
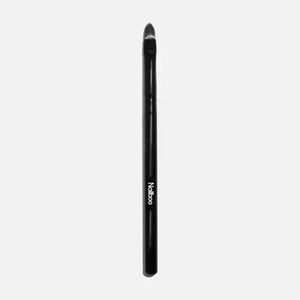
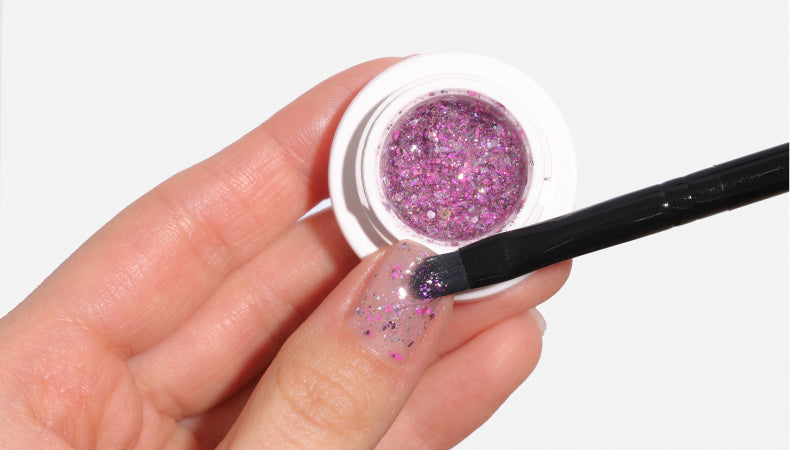
Next, dip your brush into the Garden Gems Gel Polish Pot. Grab a very small amount - you can pick up more later! You will notice the consistency is much thicker than regular gel polish. This is because the formula is PACKED with real dried flowers and unique glitter mixes.
Apply the gel evenly across your nails, making sure to smooth it out. Use the tip of the brush to move around and position the glitters however you want. Try to level out the surface. When you’re happy with the placement, hold your hand upside down for a few seconds before curing to allow the gel to self-level. Once the surface is smooth, cure immediately under a UV/LED lamp for 60 seconds a flawless finish.
Apply Top Coat & Cure
Finish with a layer of Forever Glaze No Wipe Top Coat for that perfect shine and cure again for 60 seconds.
Make sure you’re grabbing a very small amount of gel and applying it evenly. Use the tip of your brush to move the gel around and smooth it out. You can also try holding your hand upside down for a few seconds before curing to allow the gel to self-level. Once the surface is smooth, cure immediately under an LED lamp. To really perfect the finish, use a thicker layer of gel top coat to level out the surface, hide imperfections, and encapsulate the design.
This formula is packed with flowers and glitter, and not watered down, so a little goes a long way. Remember to pick up a small amount on your brush and apply it evenly!
We designed this art gel for the best comfort and usability! The flowers and glitter pieces are much easier to control in a thicker gel base. It gives you more working time and prevents them from sinking to the bottom. If you’ve used regular nail polish with fun glitters before, you’ll know the struggle!
YES! These are real dried flowers embedded in the gel formula.