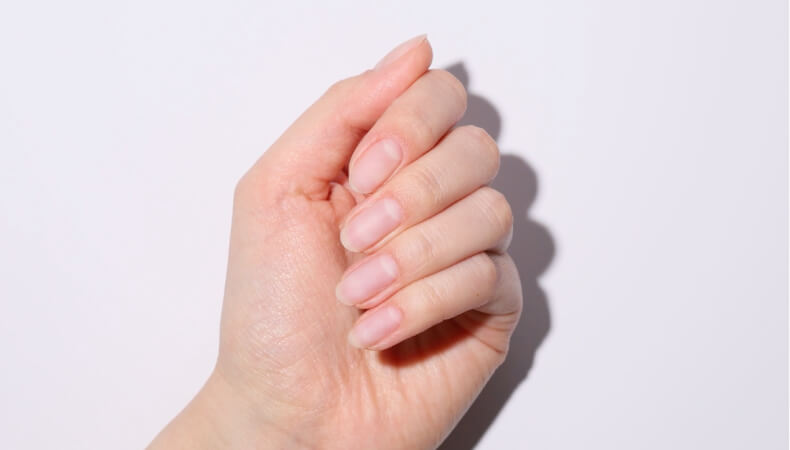
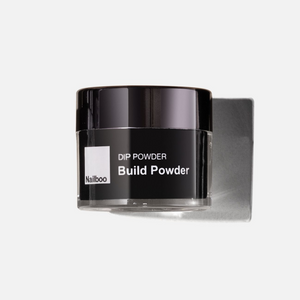
Start by applying Build Powder to your prepped nails. Apply a very thin layer of base to half of the nail plate. Slowly immerse the nail in Build Powder. Wait briefly for the products to adhere, then gently brush off excess powder.
Repeat this step, this time covering three-quarters of the nail, leaving a margin around the cuticle and sides. Dip the nail into Build Powder. Let the base absorb the powder and brush away the excess.
Apply Base Color
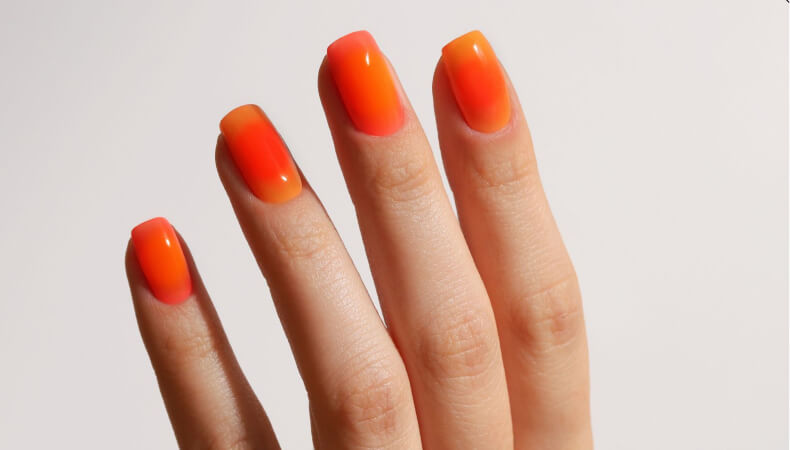
Stir the color powder of choice to avoid lumpiness. Apply another thin later of base liquid, this time slightly closer to the cuticle. Dip into the color powder of your choice. Here we are using two colors from our new Sunshine Groove collection - Hot Tropics and Paradise.
Repeat this step to add another coat of color to deepen the opacity. Remember to keep the base coat layer thin to prevent powder rippling.
Create The Aura Design
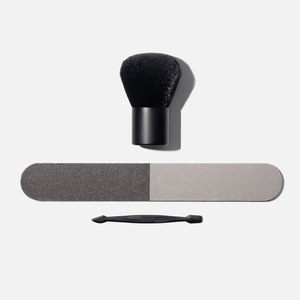
Grab a dense eyeshadow brush that you no longer use for makeup and repurpose it for your nail art instead. Dip the brush into the dip powder. Apply pressure and scrub the powder onto the center of the nail surface, essentially staining the background color. Keep scrubbing until you achieve the desired pigment intensity and blend.
Apply another layer of base coat followed by dipping into clear Build Powder. Again, use the scrubbing technique to blend and intensify the ombre effect. To get more pigment intensity try grabbing pigments that are settled on the lid of the jar or redip the brush multiple times. This will create a seamless aura gradient effect as the pigment gets embedded onto the surface.
Next, apply a clear Build Powder over the aura nails to protect the design during filing and buffing.
Apply Activator & File
Apply Activator and wait for your nails to fully harden.
File and buff your nails to smooth out any imperfections and shape them to your liking. Perfect the free edge of the nail and smooth out the surface for a salon-quality look. Use a nail buffer to get rid of any scratch marks left by the file.
Apply Second Coat Of Activator
Once you are happy with the shape and surface of your dip, brush off filing dust and apply Activator again, only this time apply a minimal amount, only on the surface level.
Apply Two Coats Of Top Coat
Apply two coats of dip powder Top Coat. Allow the first layer to dry for about 2 minutes. Follow up with a second Top Coat layer.
Hydrate Cuticles
Once the top coat has completely dried, feel free to wash your hands with warm water and soap. Afterward, apply skincare products like Blissful Blooms Cuticle Oil our our Cuticle Milk to hydrate and nourish your cuticles.
Dip base coat and Top coat harden from contact with step 2 Activator, moisture(water), or long air exposure. Cross-contamination can happen from acetone getting in the bottles during cleaning, leftover Activator getting on a Top Coat Brush, or dip powder getting transferred to Base coat bottles. You should also avoid exposure of liquids to air for long periods.
Around 2 minutes but this depends on the number of dip powder layers applied. It’s best to test if the dip is fully harden by lightly tapping a nail with a side of the metal cuticle pusher. Cured nails with make a characteristic sound. You can also test it by gently pushing your nail on a surface to see if there are any dents.