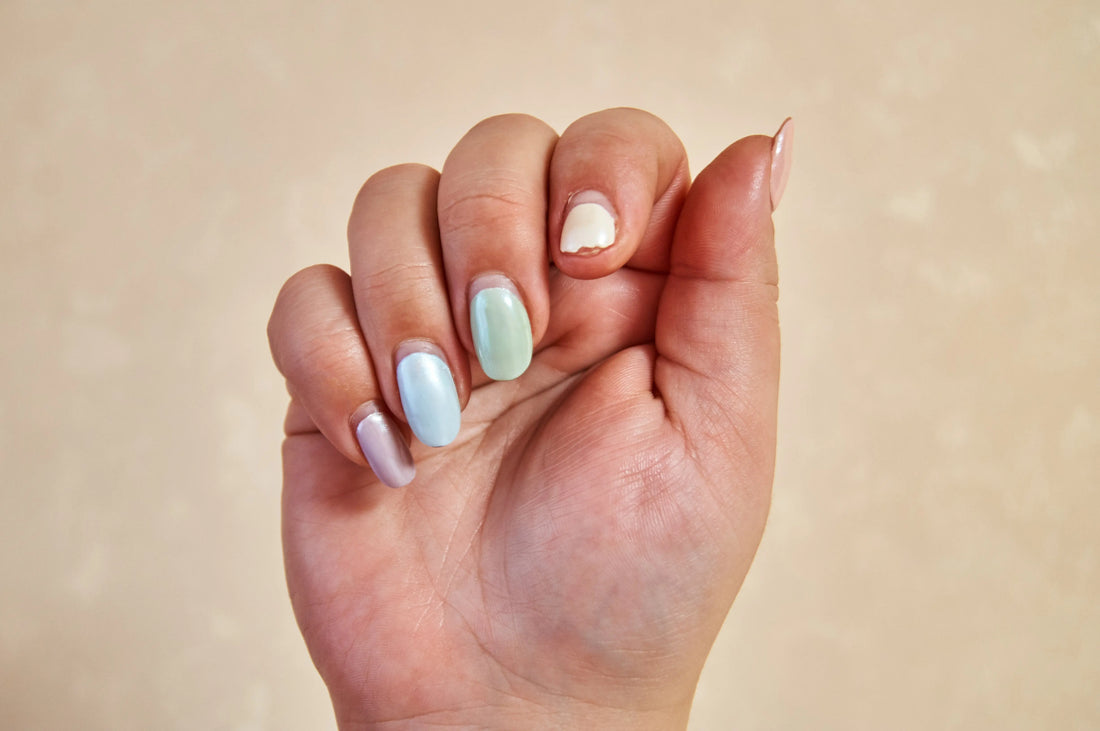
We use our fingers and hands for many activities and events throughout the course of the day, which means it’s not unusual to experience a broken nail on occasion, no matter how well you care for your nails. But don’t worry. With a few simple steps, you can take care of your broken nail and begin the healing process, so you can return to the polished manicure looks you love.
Nailboo is here to help you every step of the way. Not only do we carry easy-to-use nail dip polish kits that allow you to achieve salon-quality manicures at home without the salon-quality costs, but we also want to share all we’ve learned about keeping your nails healthy and strong. Knowing what to do when a nail breaks can save you time, energy, and irritation down the line, so check out this guide for nail care and support that can really keep up.
Why Is It Important To Fix Broken Nails?
Breaking a nail is often used as a punchline in movies and shows, but the truth is that there are a lot of irritating and painful side effects associated with broken nails, and a lot of reasons why it’s important to know how to fix them right.
It Can Prevent Further Damage
One of the most important reasons to address a broken nail as soon as possible is because it can help to prevent further damage to the broken nail or the surrounding nails. When you go about your day with a damaged nail, the tear or break can extend or even get caught on clothing and other materials, leading to a longer crack. When you take care of the nail as soon as it breaks, you stop the damage at the source.
It Helps To Keep Your Nails Strong
It’s important to consider the overall health and wellness of the nail when it suffers damage or tears. When you tidy up a broken nail, you help to reinforce it, which means the rest of the nail won’t suffer or become damaged, as well. You also won’t be overcorrecting for the damage, as much, so you’ll save strain and use on the rest of your nails.
It Reduces Pain
Breaking a nail can be painful. That’s because the skin below the surface of the nail is extremely sensitive to pain and isn’t designed to be exposed to the elements. While you may still experience some initial pain when you first break your nail, the sooner you fix and care for the break, the less you’ll have to worry about pain and irritation as you go about your day.
It Prevents Infection
In addition to being sensitive to pain, the skin surrounding our nails is also vulnerable to infections and irritation, and because we use our hands for so many activities it’s especially important to make sure your nails are protected. Caring for a broken nail can help to reduce your risk of infection and protect your nails in the future.
It Can Save Your Look
A broken nail doesn’t have to mean a wasted manicure. With the right tools and a little bit of care, you can salvage the look you love and continue to wear your favorite styles with pride. Knowing how to fix a broken nail can save you money and allow you to flaunt that exciting new look.
How To Fix Broken Nails
Broken nails can happen to anyone, anywhere. Here’s a look at the best ways to fix your broken nails, so a little nail damage doesn’t get in the way of your exciting day.
Step One: Remove the Damage
Start by assessing the damage done to the nail. If you see any pieces hanging off that can snag or catch, it’s important to remove those first, as this will help to prevent any further damage from occurring. Make sure you always use the right tools and that they’re cleaned before use.
Step Two: File Carefully
If there are no large breaks or you have already removed the big damage, you’ll want to take your nail file and gently begin smoothing out the surface of the nail. There are several reasons this step is important.
To start, it can help to remove any remaining tears or jagged edges following clipping. It’s also a useful tool for determining the extent of the damage. It’s helpful to know just how far down the tear or break in your nail really goes, and gently filing it can provide that information. Always move in one direction and file carefully until you know how far down the break goes.
Step Three: Sanitize and Smooth Out Your Nail
It’s a good idea to keep rubbing alcohol in your manicure kit, and this is one of the reasons why. To start, alcohol can help to sanitize your nail and protect it against infections. It’s also useful for managing any roughness that might have resulted from the break. This will allow the patch to adhere more cleanly and make it easier to touch up your manicure.
Step Four: Use Your Patch
There are several ways to patch up a broken nail, depending on the materials you have at home. Nail glue is one of the most effective, but you can also use a filling powder or even an artificial nail to bind and protect the nail while it heals.
Don’t have the manicure tools on hand? Don’t worry. Another effective way to bind your nail is with a teabag. Hear us out: the soluble nature of the bag material makes for a great, low-impact binding agent. All you have to do is clip a clean piece of the teabag and gently apply it over the surface of the nail. It can cover as much or as little of the nail as you want, as long as the break is completely covered.
Step Five: Apply a Top Coat
In order to get the teabag binding to stay in place while your nail heals, you’ll then apply a top coat to the surface of the nail over the tea bag material. If you have to move the material around to get a good fit, clean tweezers are a great way to go. Once your teabag is properly in place and secure, allow the top coat to dry completely.
Step Six: Apply Your Paint
If you’re fixing up your manicure, this is the last step of the job. It may be challenging to find a color that completely matches the set, so consider adding decals, designs, or even an artificial nail to keep your manicure looking cool and stylish for a long time to come. There are many creative ways to get a gorgeous manicure, even if your nail is healing from a break.
If you don’t plan on painting over the teabag, it can be helpful to reapply the topcoat once every few days, to ensure that the nail is properly bound and able to heal on its own. Check its progress carefully with gentle touches, and change the binding if necessary.
Fix Your Nails in No Time
Breaking a nail can be painful and irritating, and it can take time for the nail to heal so you have full use of your hands. That’s just one reason it’s important to know how to heal your broken nail at home. Additionally, it can save your manicure, which means you can continue to wear the looks you love for even longer.
Taking care of your broken nail at home is easy, and all you need are a few simple tools and materials that you already have in your nail kit. Start by removing the obvious breakage and gently filing down the nail to get a smooth edge and to determine how far down the damage goes.
Then apply either your nail glue or a small section of tea bag material to the break to begin the binding process. Seal in place with a top coat then apply your favorite nail color to complete the job.
For more information on proper nail care after a break and to prevent your nails from breaking in the future, turn to the team here at Nailboo. We have the best tools and resources for caring for and protecting your nails, like nail polish removers, powders, and polishes, and it’s easy to try out the nail dip process with our at-home kits. Explore our library to meet all of your nail care and manicure styling needs.
Sources:
Fingernails: Do’s and Don’ts For Healthy Nails | Mayo Clinic
Why You Should Never File Your Nails Back and Forth | Cosmopolitan Magazine
Twelve Ways to Prevent Another Nail Infection | American Academy of Dermatology


