
Creating a unique and beautiful nail design at home is a wonderful opportunity to express your style and try out new methods of artistic expression. There are so many different ways to fashion and paint your nails, and when you try out the next great manicure or pedicure at home, you’ll know the look you’re achieving is all your own.
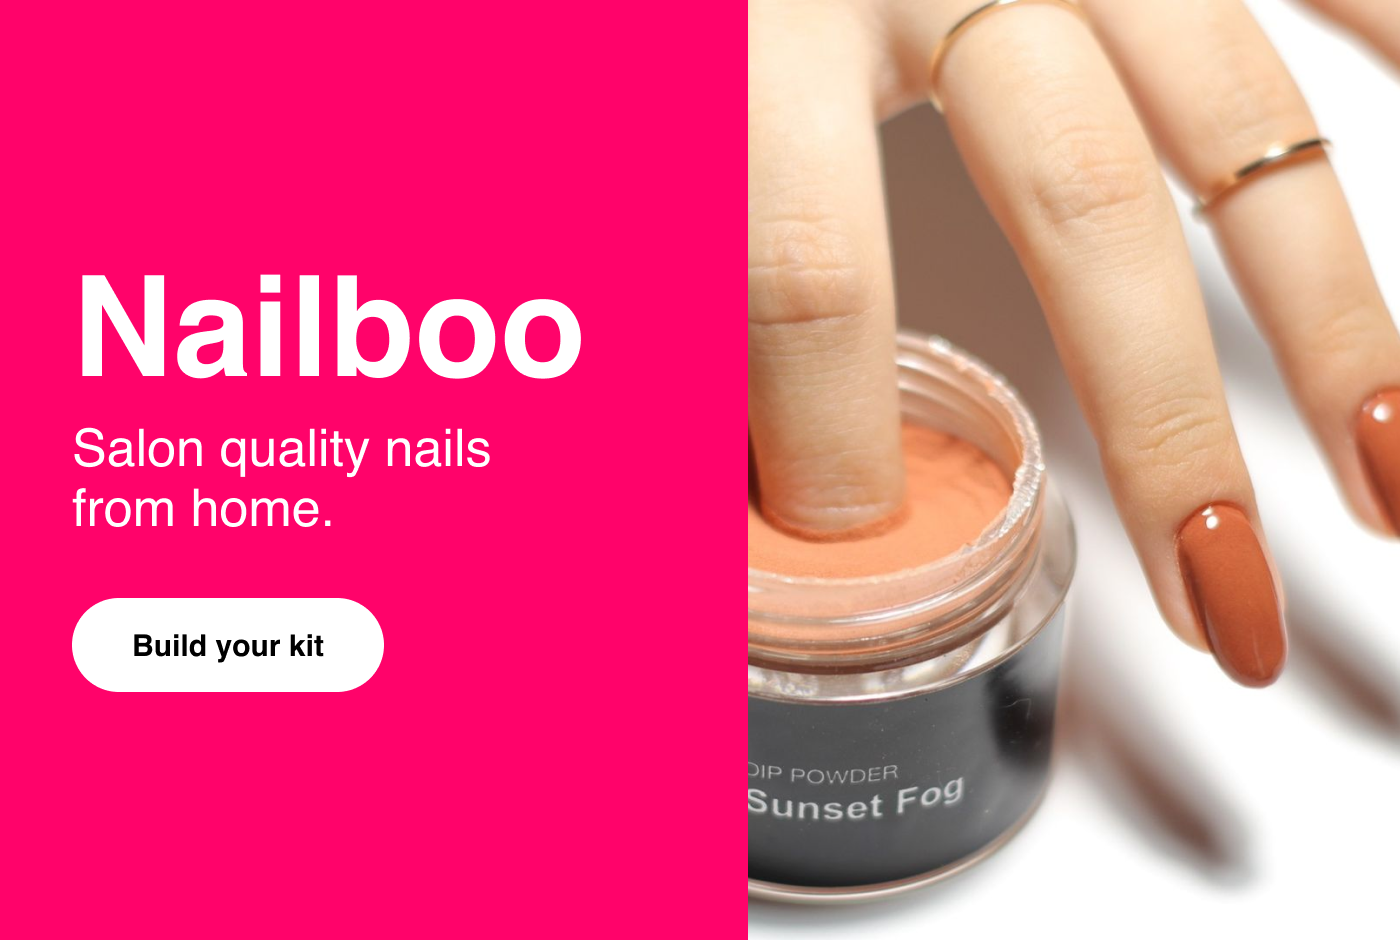
Whether you love the stiletto look or you just want to keep your nails feeling strong, happy, and healthy, Nailboo can help. It can be difficult and time-consuming to get to the salon every time you need a touch-up or to match a new seasonal look. That’s why our company is dedicated to bringing your favorite salon-style looks to your front door, with dip kits that leave your nails glossy and protected.
We also want to share all we know about getting gorgeous new looks. When you’re ready to try out the new water marble style yourself—or other beautiful patterns—explore our growing library of resources and guides to get started today.
What Are Water Marble Nails?
Marbling is a beautiful art technique that dates back centuries and has taken on many unique forms as art, culture, and travel evolved over time. The aesthetic is one of a fluid balance of colors and movement, and it often adds an air of luxury and elegance to everything from large paintings in museums to stationary.
You can achieve the look right at home with an easy water marble design for your nails. While water marbling is believed to have been developed in the 1990s, the style has grown and expanded in recent years, which means there are many unique approaches and aesthetics you can take to create your own marble nail styles at home. And it doesn’t matter what style of nails you have. Water marbling can be just as effective on synthetic nails or with gels and acrylics as natural nails.
Like the traditional method of creating marble paper, you’ll use water to achieve the aesthetic of marble on your nails, as well, which is why marble styles have such a fluid and graceful look to them.
There are two main approaches to water marbling: free dragging and free dropping, but dragging is the most common. When you use a dropping technique, you’ll simply drop nail polish into the water in a layering effect before the nail is dipped. With a dragging design, you can create beautiful, moving shapes and styles, with everything from waves to peacock feathers. The abstract and fluid nature of the dragging style is part of the reason it’s more common.
How to Get Water Marble Nails at Home
It’s important to note that water marble nails are messy. There are ways to minimize the amount of mess you make, but you’ll want to make sure you give yourself enough time to achieve the look you want and keep plenty of nail polish remover on hand. Here’s what you’ll want to know about styling beautiful, unique marble nails yourself.
Tools for your Manicure
The right tools make every job easier. Here’s what you’ll want to have on hand for your water marble nail designs.
Room Temperature Water
The key to achieving gorgeous water marble nails is the water. You’ll want to make sure you fill up a shallow, wide bowl with medium or room temperature water. Be careful not to let the water get too cold, as cold water sets the polish too quickly and won’t allow it to adhere to your nails properly.
Remember, you’re not going to want to use your nail polish cup or bowl or eating for drinking again, so consider a disposable or recycled plastic that won’t accidentally be put back into the cabinet.
Base Coat
The proper base coat is light or neutral in color and matches well with the other colors you’ve picked, in case there’s any negative space. If you really want to ensure that the nail polish adheres properly, you may want to consider using a matte base coat.
Nail Polish in Your Favorite Colors
This is the fun part! You can use as many colors for your marble as you like, but we recommend starting with two or three, just so it doesn’t become too muddy or overwhelming the first time around. Many people like to use a marble nail style for an accent nail, in which case you’ll want to make sure the colors you pick match the rest of your manicure.
Toothpick
The toothpick will ensure that your colors are swirled or moved around on the surface of the water properly and will give you control over what the final designs look like.
Liquid Latex
Part of the process of achieving a beautiful marble nail design is dipping your finger into the polish, which can be very messy. While you’ll still want to have nail polish remover on hand, you can mitigate some of the messiness of the style by applying a liquid latex around your cuticles so the nail polish doesn’t stick to the skin.
If you don’t have liquid latex on hand, moisturizer or Vaseline can help to keep a lot of the paint where it belongs.
Nail Polish Remover
Even with liquid latex, you’re still probably going to see some nail polish end up on the skin around the nail. With nail polish remover and cotton swabs on hand, you can make sure that the only place where your beautiful style sticks is on the nails themselves.
Top Coat
Of course, you want to finish off your new water marble design with a protective top coat that will keep your manicure protected and glossy for weeks to come.
Your Manicure Supplies
The healthier your nails are, the longer your nail polish will last and the better it will look. If you have the time, consider giving your nails a once-over with the trimmer, file, and cuticle serum, so the polish really stands out.
The Marble Nails Process
Once you have all the tools in place for your nail polish design, the actual marbling process is relatively easy. Here are the steps you’ll want to follow.
Perform Nail Care
It can be helpful to take a few moments to ensure your nails are healthy and strong. Preparing your nails with a simple trim, file, or moisturizer can go a long way to keeping your nails in good shape, both before and after you apply your paint.
Apply Your Base Coat
After your nails are prepped and healthy, apply your base coat until your nails are properly covered and allow the paint to dry.
Make Your Design
Put your nail polish design into the water by adding a few drops onto the surface of the water at a time. Once you’re satisfied with the colors, use your toothbrush to swirl them around and achieve that stunning fluid design.
Dip Your Nails
If you have liquid latex or another protection for your nails, you’ll want to apply it before you dip. Then dip your nails into the paint on the surface of the water, making sure that the design coats the entire nail.
Give It a Clean
Once you remove your nails from the water, you’ll want to clean up the edges and remove any paint on the skin around your nails.
Protect Your Design
Add a top coat of paint to seal in your new marble style and to keep your nails protected from chips or damage.
Conclusion
There are many different ways to get a beautiful marble design at home with all of your favorite colors. You can even add shades of glitter for a true marbled look or use a marble style as an accent color for your bold or pastel set. They are a truly unique way to approach your next manicure, and you can begin trying them out at home with ease.
And Nailboo can help you get started. Not only are we sharing our favorite unique nail styles, like the easy water marble nail look and more great guides, but we also offer dip kits that will ensure you get a salon-quality manicure every time. A dip kit means that your nails are glossy and protected, and with so many options to pick from, there’s a guaranteed style and pattern to fit your next look.
Mix it all together with a new marble style in neutrals or neons for any time of year or event and stand out with beautiful nail art from Nailboo. The only question is, what colors will you try out first?
Sources:
Decorated and Decorative Paper Collection | Washington.edu
How to make nail polish dry faster - Cold water makes nail polish dry faster | Good Housekeeping
Fingernails: Do's and don'ts for healthy nails | Mayo Clinic
